How to set up VPN with L2TP/IPSec on Ubuntu

Submitted by phannphong on 22 May, 2018
VPN L2TP on Ubuntu

When I searched a solution for connecting through VPN with L2TP/IPSec on Ubuntu (I used Ubuntu 18.04 at this time), I found this article and kept it in my note.

Just as a followup to the great information you provided, thought I'd give people a complete set of steps I took to get this working on Ubuntu GNOME 17.04:

1. Install network-manager-l2tp:
sudo add-apt-repository ppa:nm-l2tp/network-manager-l2tp
sudo apt-get update
sudo apt-get install network-manager-l2tp
2. If using gnome, install the gnome plugin (if using another desktop environment, see if there's a plugin for its network manager):
sudo apt-get install network-manager-l2tp-gnome
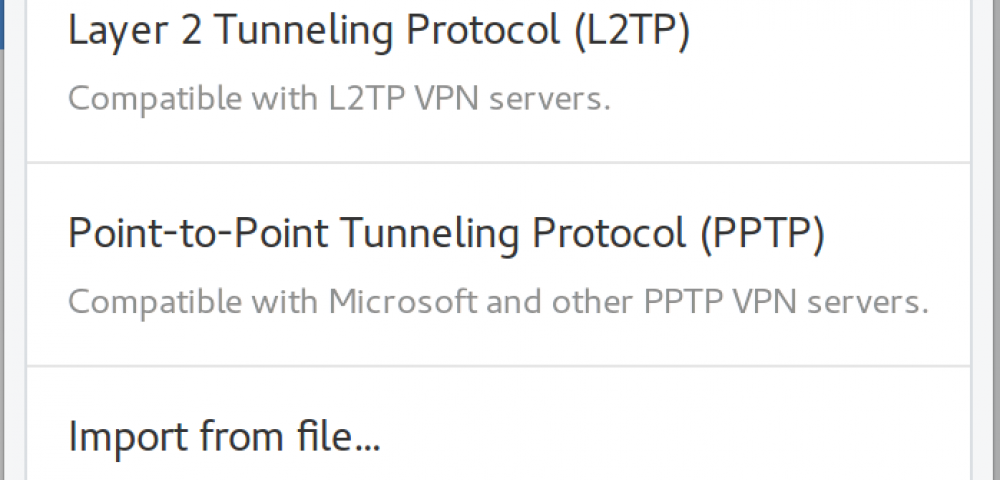
3. Navigate to Settings > Network > Click the + button > Select "Layer 2 Tunneling Protocol (L2TP)"
4. Name the new VPN connection something
5. Put the hostname in the Gateway field.
6. Put username in the Username field.
7. Click the icon in the Password field and select your preference for how to supply the password.
8. Click IPSec Settings...
9. Click the box for "Enable IPsec tunnel to L2TP host"
10. Enter the shared secret into the Pre-shared key field.
11. Expand the Advanced options area
12. Enter "3des-sha1-modp1024" into the Phase 1 Algorithms box.
13. Enter "3des-sha1" into the Phase 2 Algorithms box.
14. Click OK.
15. Open a terminal and enter the following commands:
sudo systemctl stop xl2tpd
sudo systemctl disable xl2tpd
16. Open Network Settings back up and try to turn the VPN on.

Updated: 

  • This way doesn't a perfectly good way because sometimes the VPN suddenly disconnect.
  • At step 15th, in case you can't run:
sudo systemctl disable xl2tpd

please try this command:

/lib/systemd/systemd-sysv-install disable xl2tpd

I tried to find the link of this article to put in the reference but I didn't see it.

Reference: Internet
Tags

Comments